Claymation stop motion
Description of Project:
Students will create a stop motion
video with clay in groups of four students.
Students will review such stories as Asphalt’s tales and analyze
cartoons, stories, and books for the underlining message for ideas and
inspiration. Students will write a short script that address moral, ethical, or
behavior issue in today’s school (of their choice). Students will then create a short storyboard
on poster board. Students will learn how
clay into different form and move the clay for stop motion. Students will learn
to take stop motion pictures. Students
will move clay characters and take digital pictures of each movement. They will
then learn iMovie and use the program to edit and complete a short stop motion
clay video. Students will have learned the basic of stop
motion animation, the basic techniques, programs, technology, ideas, time, and
steps involved in completing a 1 to 2 minute video.
Objectives:
By reviewing, interpreting, and
analyzing such works as Asphalt’s tales, cartoons, stories, and books for the
underlining message, , teaching a lesson, and inspiration students will learn
to look beyond the surface of the media for true messages. Students will learn to how to communicate ideas,
which are important to them, though art and media. Students will be able to manipulate clay and
understand the concepts of stop motion production. Students will also have an understanding of
the media production process of videos from beginning to end. Students will gain invaluable experience
working in groups and making group decisions.
Materials
and Equipment:
·
Notebook paper
·
Poster board
·
Pencils
·
Erasers
·
Ruler
·
Clay
·
Scrapbook/Construction Paper
·
Scissors
·
Markers
·
Glue
·
iMovie
·
Computer
·
Camera
·
Tripod
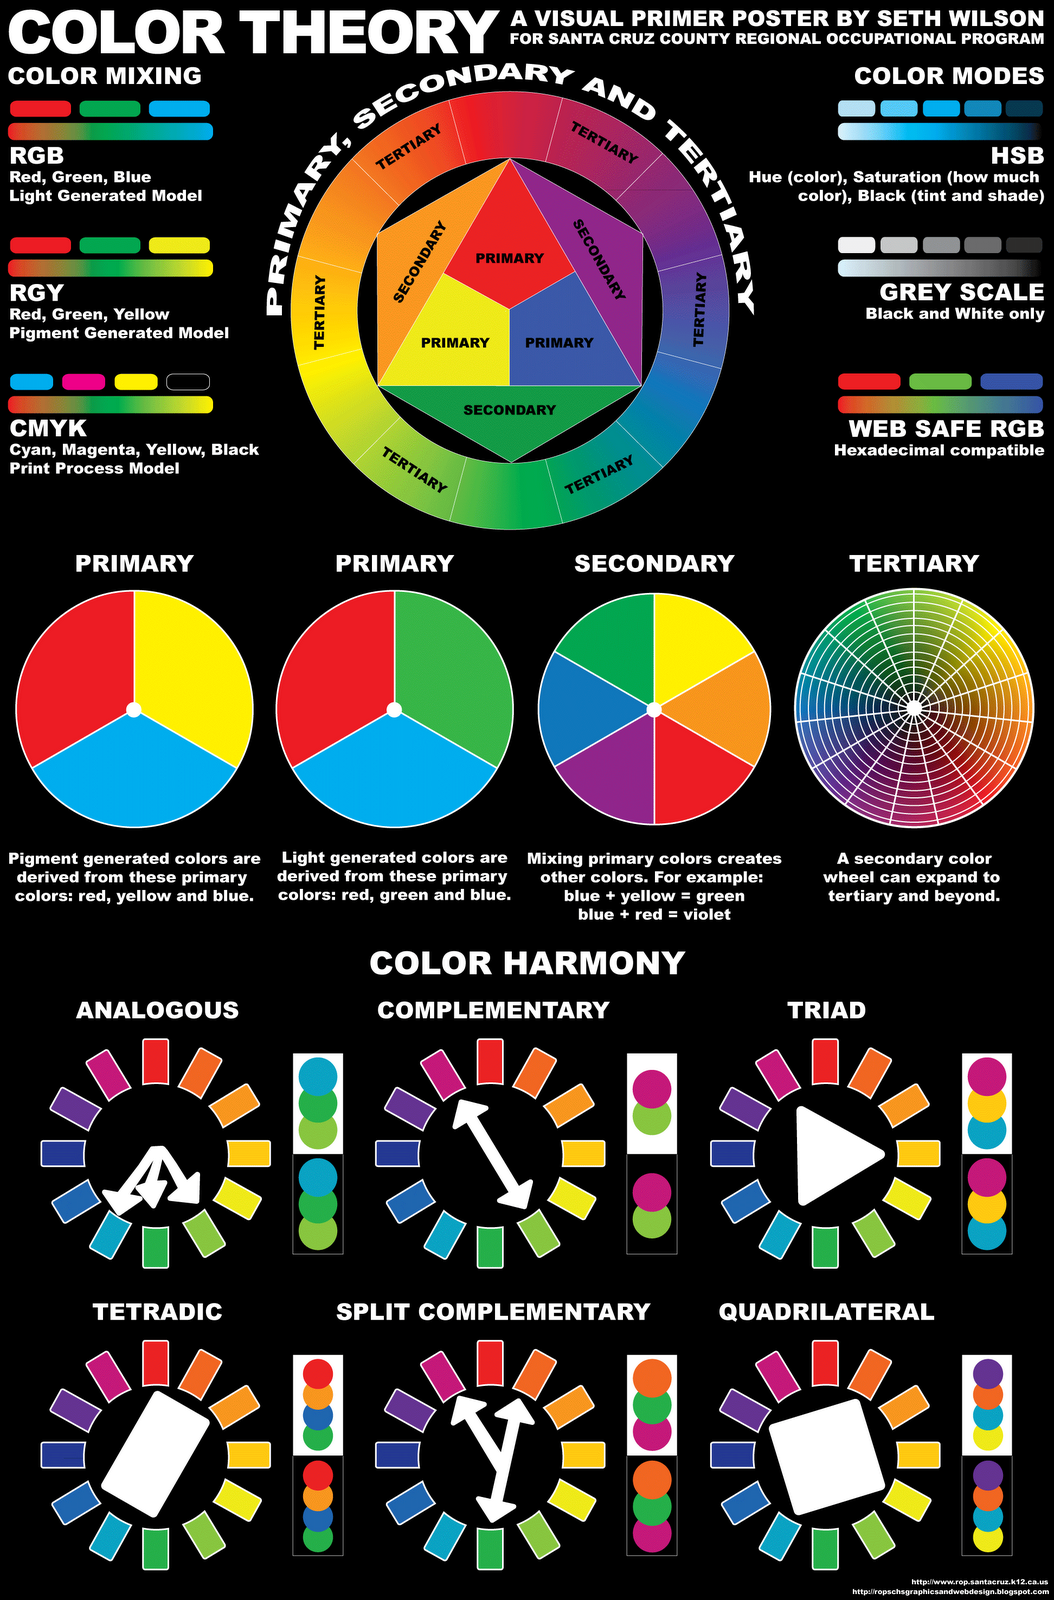
Visual Examples:
Detailed Description of Procedures:
Day 1:
·
Introduction to Claymation Stop-Motion Animation Project with examples
of Claymation videos.
·
Review how stories can have messages.
·
Separate student into groups of 4.
·
Read, and analyze such stories as Asphalt’s tales, cartoons, stories,
and books for the underlining message for ideas and inspiration. (ask students
what cartoons they have seen with messages and what are they)
·
Brainstorm as a class some messages/ideas the students would like to
tell stories about.
·
Groups will pick a theme for their story.
·
Groups will create a short story and script around their theme.
·
Groups will begin work on drawing out their storyboard.
Day 2:
·
Groups will finish creating their stories
·
Groups will finish their storyboards
Day 3
·
The teacher will give a demonstration on working with clay, using a
camera, making the clay move, and taking one picture at a time for Claymation
stop motion.
·
Student will practice a few movements and take pictures.
·
Students will make back grounds and start taking Claymation stop motion
pictures for their film.
Day 4-5
·
Students will make back grounds and start taking Claymation stop motion
pictures for their film.
Day 5-6
·
Teacher will demonstrate how to down load pictures to iMovie.
·
Teacher will demonstrate how to edit and create a stop motion video in iMovie
·
Students begin working on putting together their movies in iMovie
Day 7:
·
Students will show stop motion movies for feedback and make changes
Day 8:
·
Viewing day as a class.


